
Why balancing matters in everyday mould cooling
When one circuit takes more water than the others, the mould tool does not cool evenly. One side may freeze faster, another side may hold heat too long, and that imbalance shows up as warped parts, soft spots, sink marks or inconsistent dimensions. On a busy line, those small faults add up quickly.
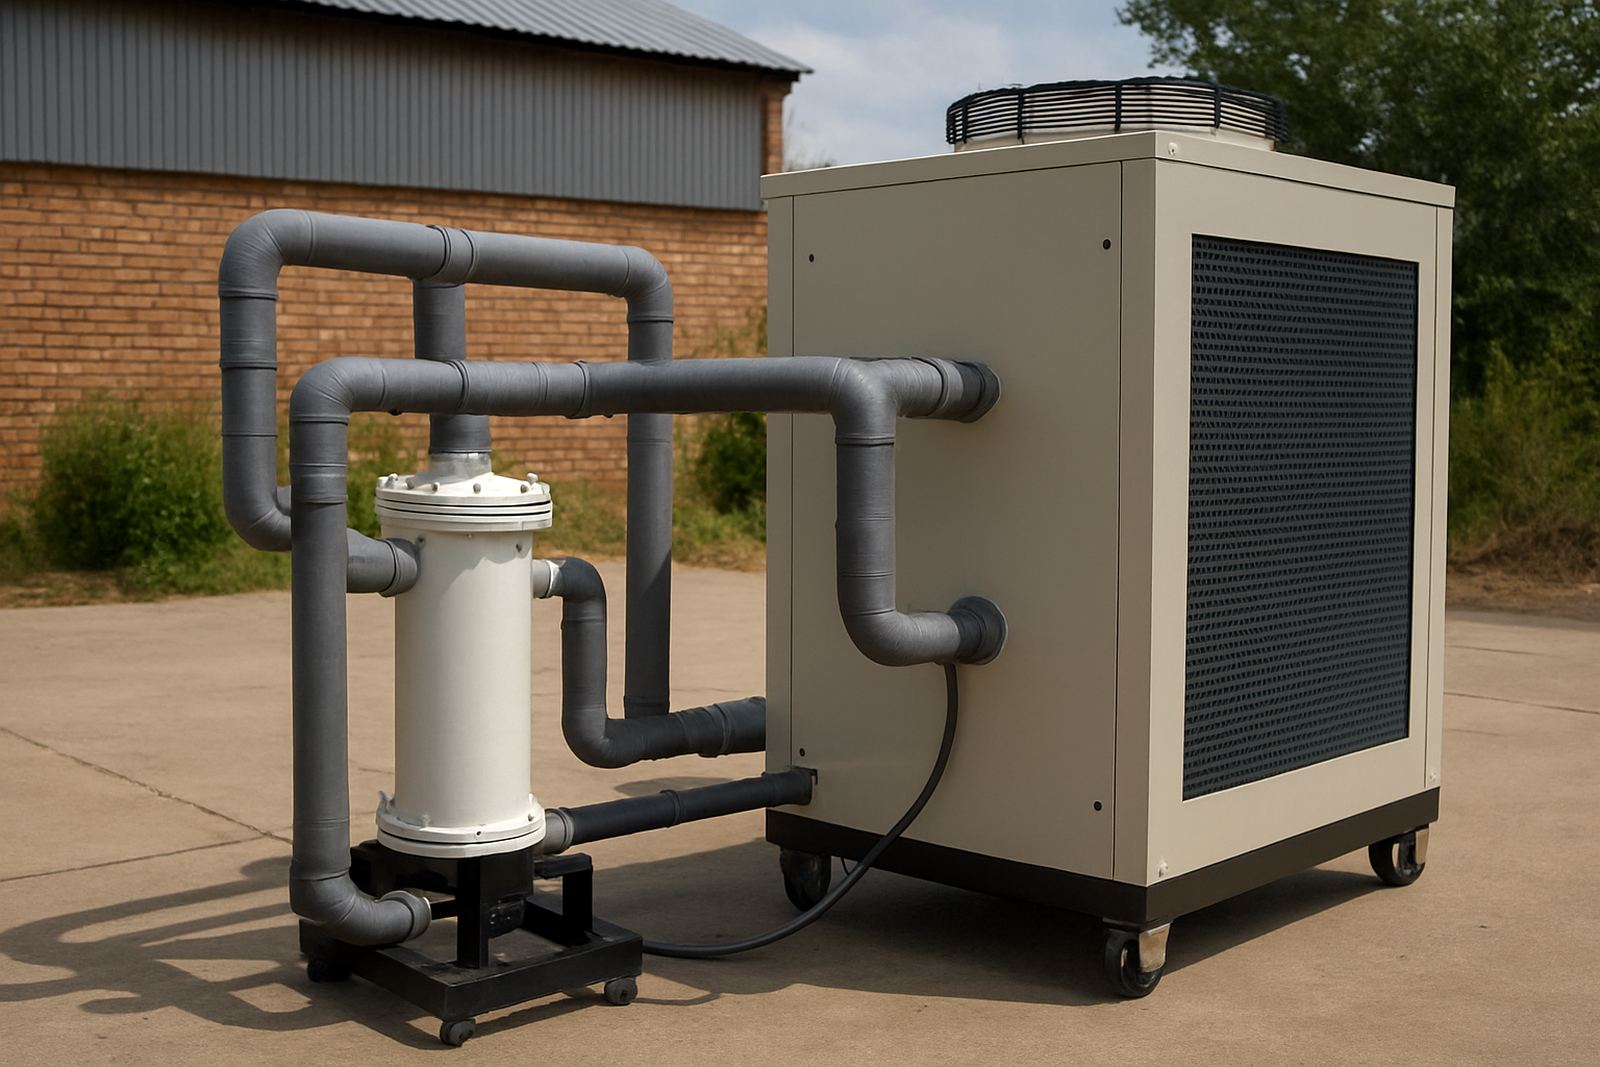
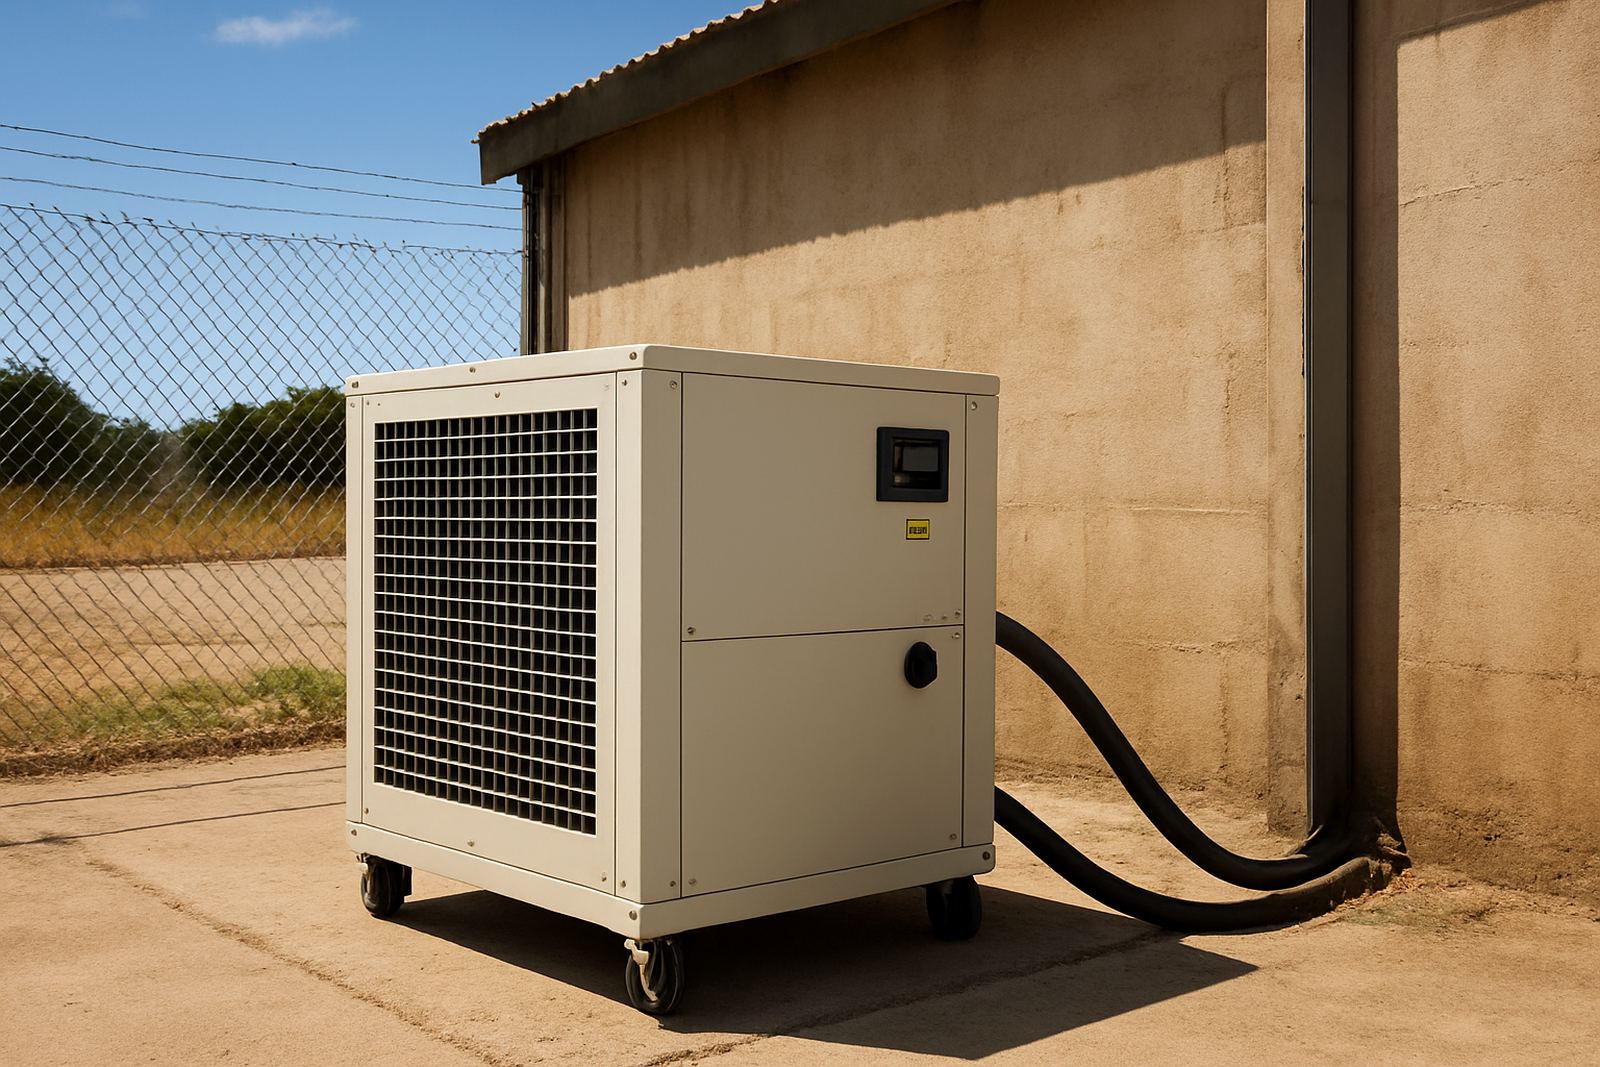
Balanced circuits help distribute cooling evenly across the mould tool so each cavity sees a similar temperature drop. That gives the process a better chance of staying repeatable, especially on long runs where even a small drift can change part quality. In practice, balancing is not only about the mould itself, but also the chiller, pumps, pipework and return line layout feeding it.
What throws a circuit out of balance
In many plants the problem starts with poor flow distribution rather than the mould design alone. One hose run may be longer than the rest, a valve may be partially closed, or scale may be building up in a channel. If the system has been extended over time, the circuit with the least resistance will usually take the most water and the others get left behind.
South African conditions can make this worse. High summer temperatures in Gauteng, dust around industrial sites in Alberton, and coastal humidity in Durban all affect cooling performance. Add municipal water quality changes, intermittent power cuts and rushed maintenance after a shutdown, and it is easy for a well set-up system to drift out of balance.
- Uneven hose lengths or too many tight bends
- Blocked strainers, scale or debris in channels
- Incorrect valve settings after maintenance
- Pump wear causing weak circulation at the farthest point
- Chiller set too close to its limit during peak ambient heat
Signs your mould is not cooling evenly
Most teams notice the symptoms before they find the cause. Cycle times start to wander, the first few parts after a stoppage look different, or one cavity keeps needing extra trimming. Operators may also report that the mould feels hotter on one side, or that water return temperatures vary more than usual between circuits.
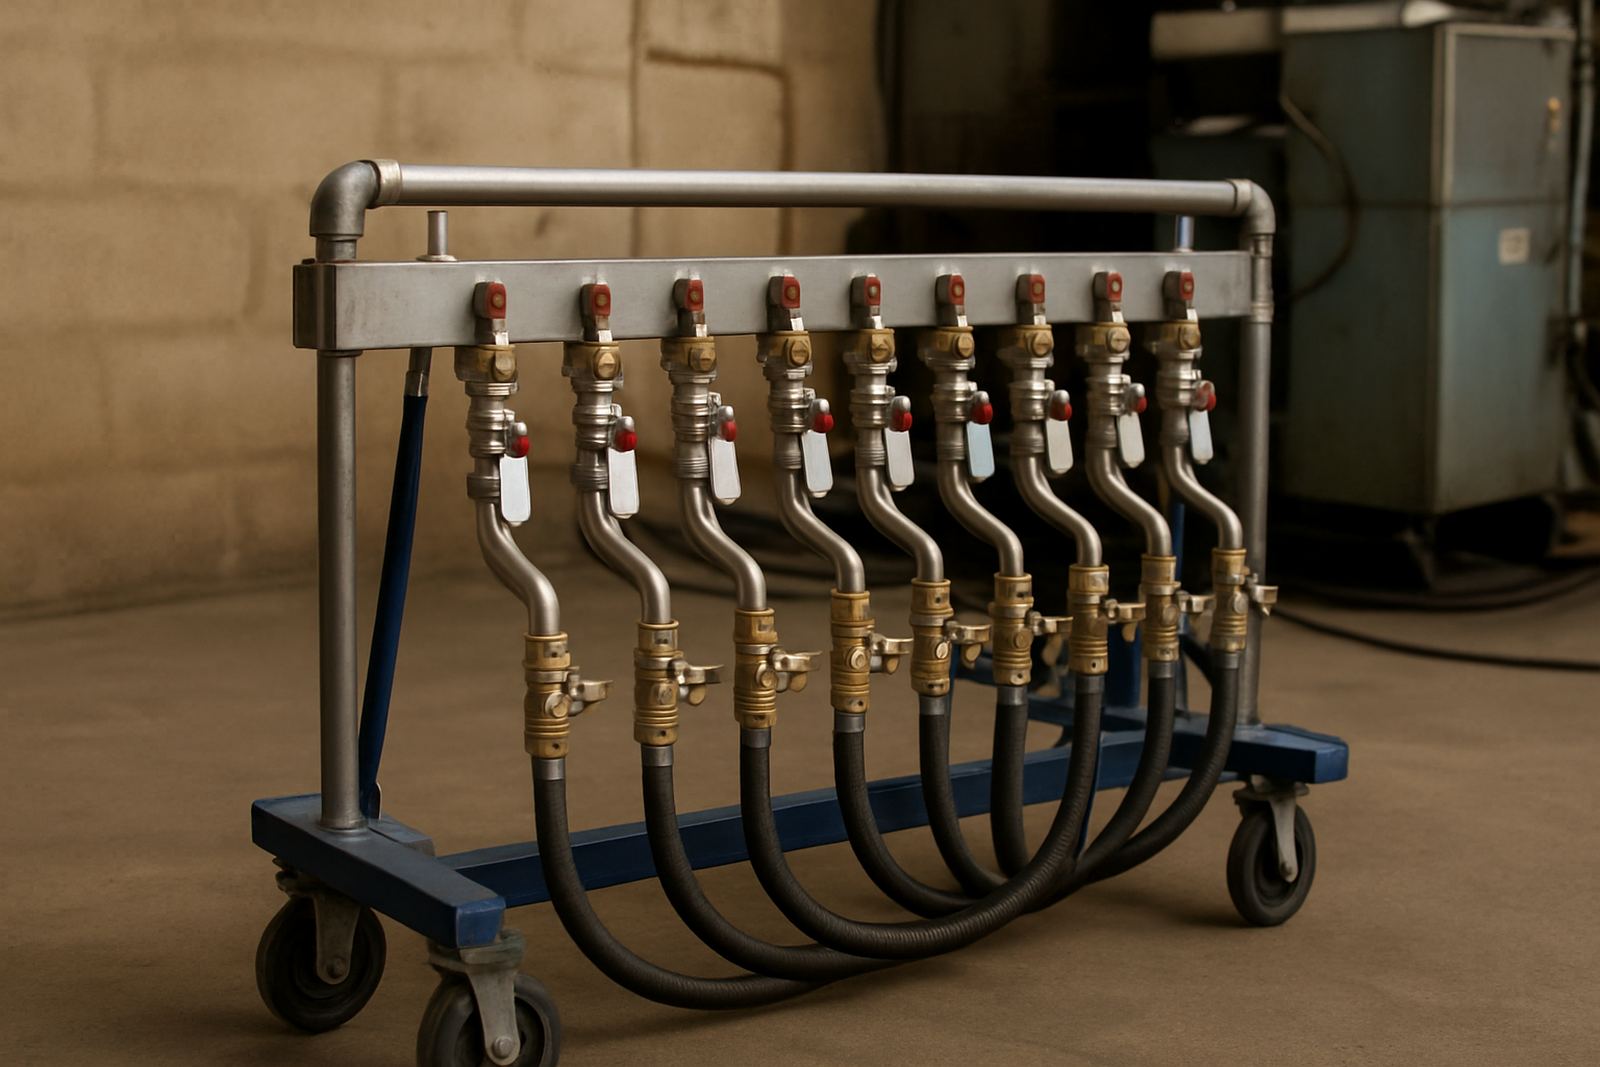
A proper check should look at more than the part itself. Measure inlet and outlet temperatures, confirm actual flow at each circuit, and compare pressure across the manifold. If the values are not close, the issue is usually somewhere in the circuit layout, the pump duty, or the internal passages of the mould tool.
- Part warpage appearing on one side only
- Different cavity weights or fill consistency
- Longer cooling time without a clear process change
- Hot spots around inserts, ribs or thick sections
- Frequent operator adjustments to keep parts in spec
How balancing is checked on site
A useful balancing check starts with a clean system and accurate readings. We normally inspect the chiller capacity, pump performance, return temperatures and line pressure, then confirm whether each circuit is actually receiving the flow it needs. Where a mould has multiple zones, the goal is to keep the flow and temperature drop as even as possible across all circuits.
If a system has never been mapped properly, the first step is usually to measure, compare and document the current state. From there, small adjustments can make a big difference. That may include changing valve settings, cleaning blocked channels, correcting pipework routing or fitting controls that allow better control over each line. Sometimes the best fix is simple, but it needs to be based on readings not guesswork.
- Check inlet and return temperatures at each circuit
- Confirm pump head against the actual line length and restrictions
- Inspect strainers, hoses and quick couplers for blockage
- Look for scale in mould passages and manifolds
- Record the settings so they can be repeated after maintenance
A practical example from a mould shop in Ekurhuleni
A moulding operation in Alberton was seeing steady rejects on one cavity pair while the others held spec. The team had already adjusted injection settings, but the problem kept coming back after lunch when the ambient temperature rose. On inspection, the cooling circuits were not balanced. Two lines were pulling strong flow, while the longer return path had lower pressure and a slower temperature drop.
After the circuits were measured and corrected, the mould cooled more evenly across the tool face. The cycle time settled down, the operators stopped chasing the process and scrap fell noticeably. The same plant later asked for a cooling audit before expanding to a second press, because it was clear the chiller and pipework needed to match the real load, not the original estimate.
This is common in Ekurhuleni where plants often grow in stages. New lines get added, pipe runs are changed and temporary fixes stay in place longer than planned. Once the cooling network is mapped properly, the gains are easy to see and the mould tool stops doing extra work to compensate for poor flow.
Keeping balance after repairs or shutdowns
Even a well balanced system can slip after a pump replacement, pipework retrofit or shutdown. A valve may be reopened in the wrong position, a circuit may trap air, or a water treatment issue may leave fresh scale inside the passages. That is why balancing should be checked again after any service work, especially before a production run that has tight tolerances.
Preventative maintenance helps, but it needs to include more than just cleaning filters. The team should inspect the full cooling path from the chiller through to the mould and back again. In plants working through load shedding, it also helps to confirm how the system recovers after a restart, because temperature swing after a power interruption can affect the first few batches.
- Recheck flow after any pump or valve change
- Bleed air from the system before production starts
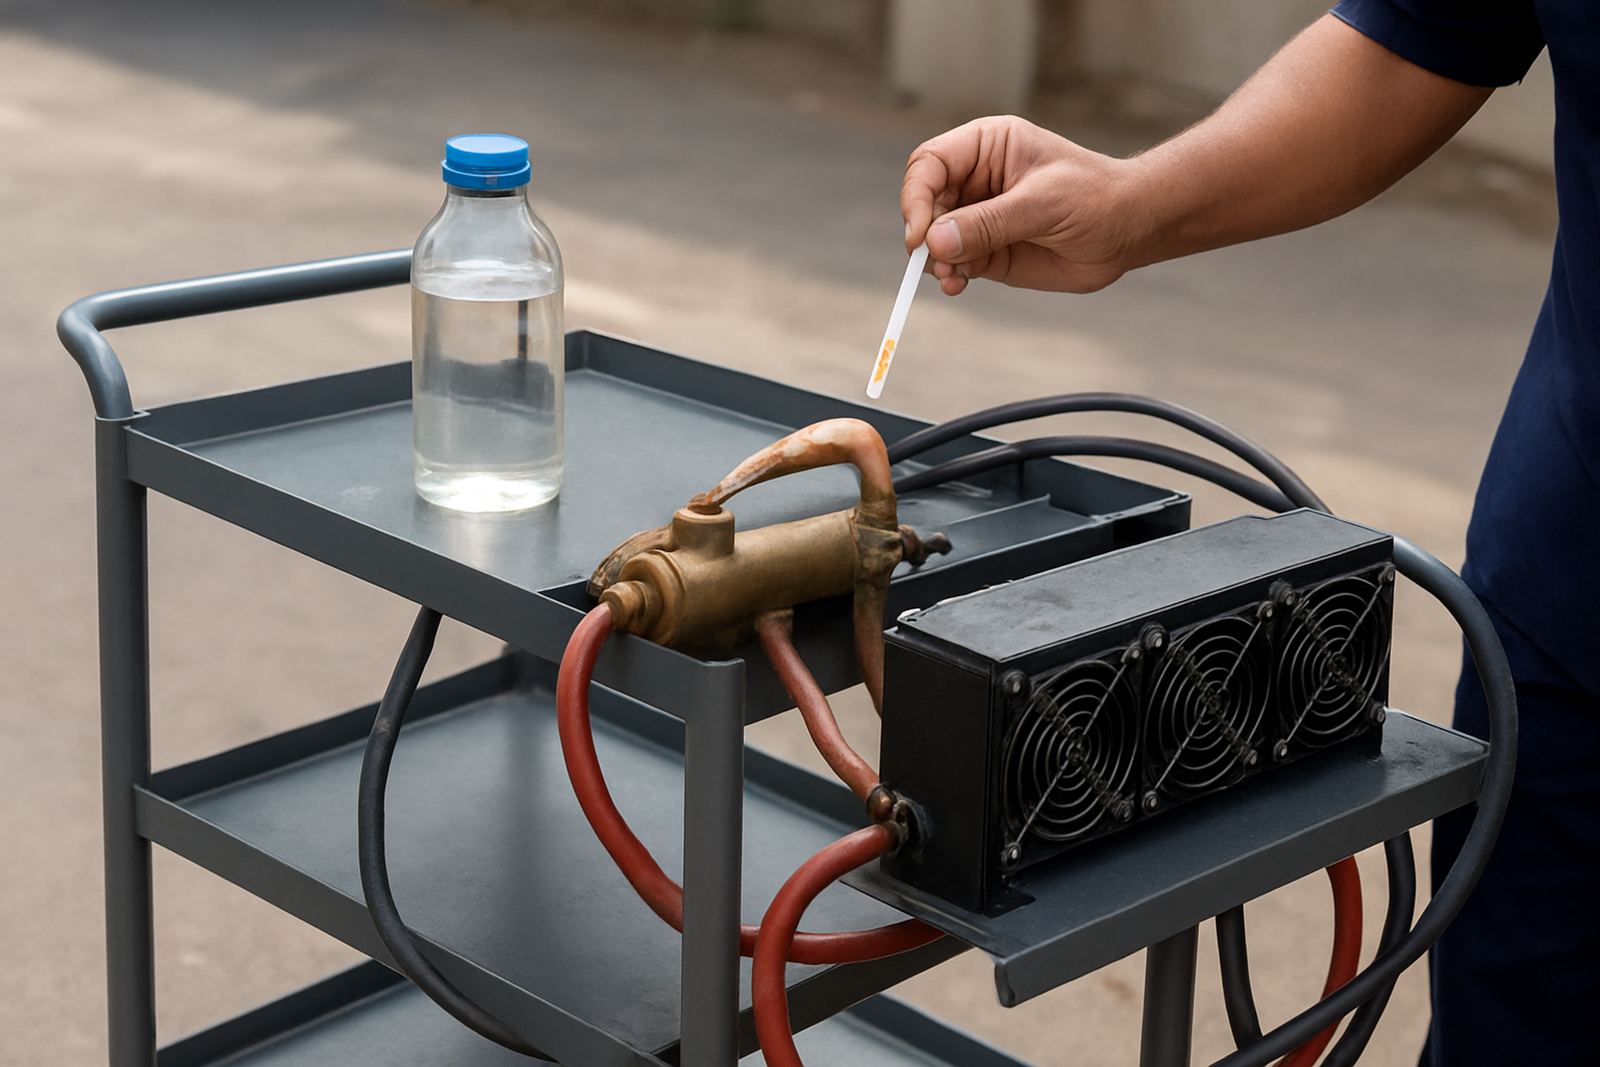
- Inspect water quality and top-up treatment as needed
- Verify the chiller is holding setpoint under normal ambient heat
- Train operators to spot uneven cooling early
Getting the cooling side under control
Mould cooling balancing is one of those jobs that pays back in small, practical ways. Parts come out more consistent, tools run at steadier temperatures and the production team spends less time reacting to faults. In many cases the issue is not one big failure, but several small imbalances building up over time.
If your moulds are running hot on one side, cycling unevenly or needing constant adjustment, the cooling circuit should be checked before the next process change. A measured balancing approach can save hours of trial and error, and it usually protects the mould tool as well as the product. For operations across Johannesburg, Pretoria, Durban, Cape Town and Rustenburg, that kind of control matters every shift.