
Start With the Full Equipment Footprint
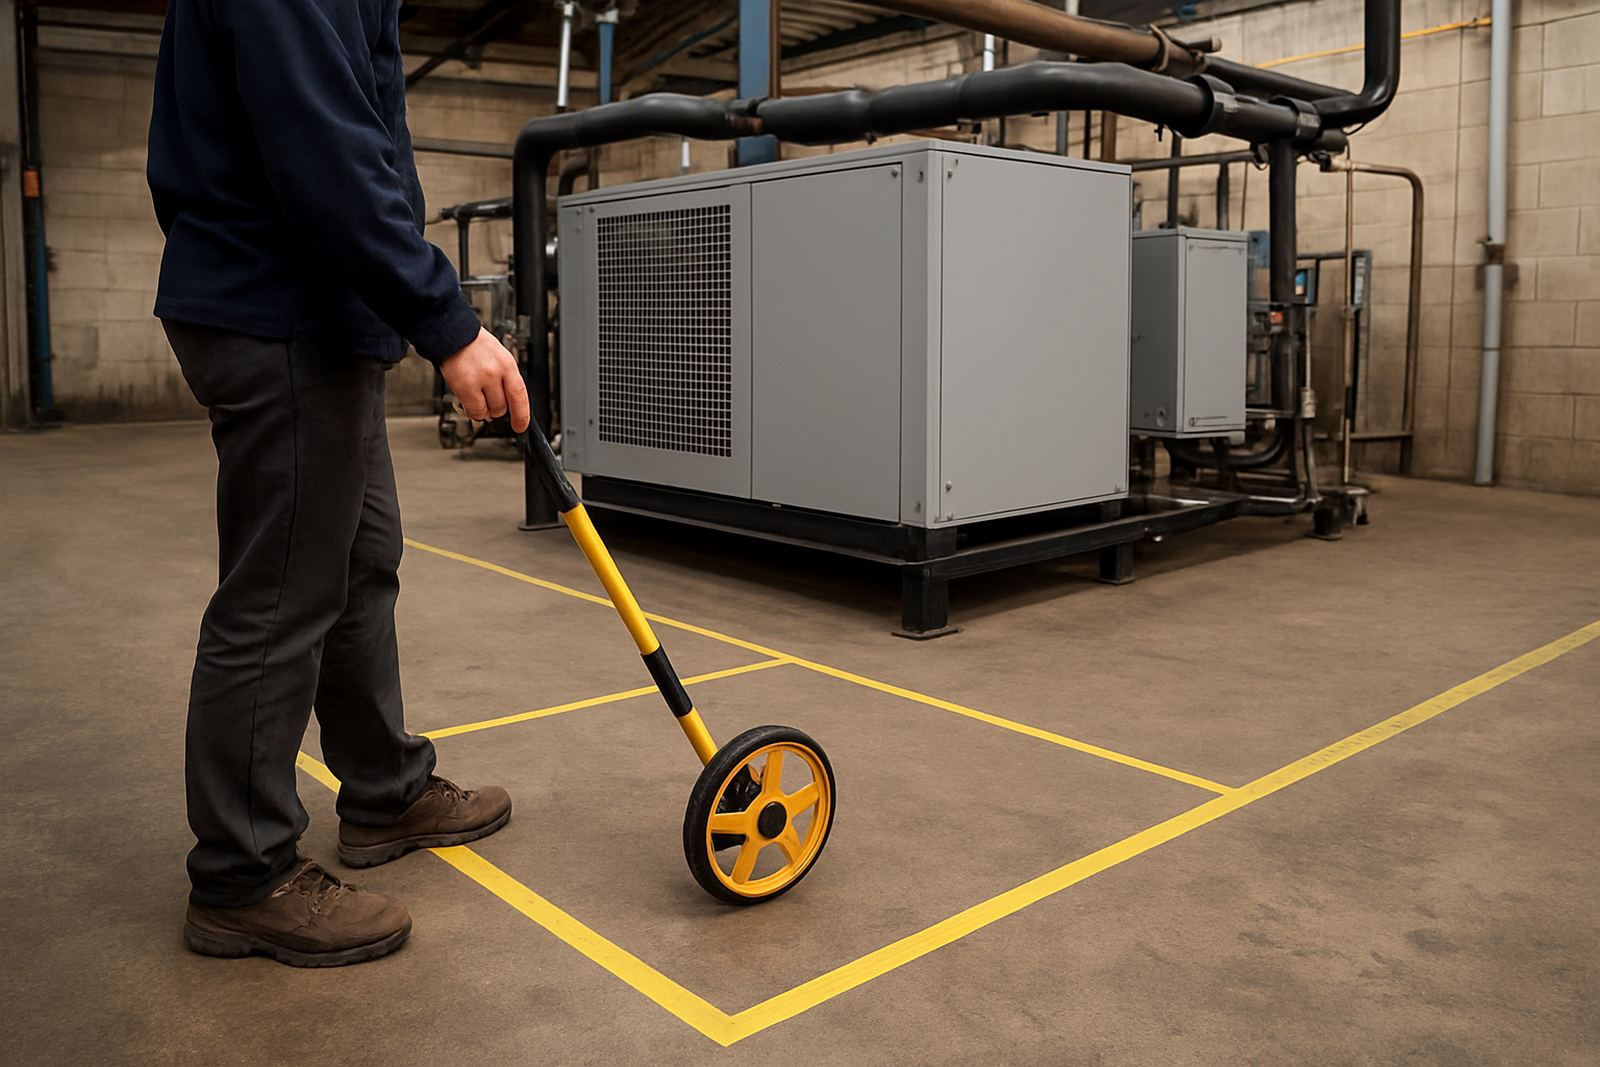
Before you order or move a chiller, measure the actual space at the plant, not just the open patch where it might fit. Allow for the machine footprint, door swing, access panels, pump connections and the path needed to bring the unit into position. In Alrode, Germiston and Boksburg we often find that the floor space is there, but the turning space at the doorway or around a corner is the real problem.
Check the route from the delivery point to the final position. Measure gate widths, roller shutter openings, ramps, stair landings and any narrow passages. If the unit must pass through a production area, plan the move for a quiet shift or a shutdown window so forklifts, pallet jacks and staff do not slow the installation.
- Measure width, depth and height at the install point.
- Confirm access through gates, doors and corridors.
- Check floor loading for the chiller, water buffer and pipework.
- Leave room for lifting gear, trolleys or a pallet jack.
Ventilation and Heat Rejection Need Open Space
Industrial water chillers remove heat from the process, then release that heat into the surrounding area. If the unit is pushed against a wall or boxed into a small room, the hot air has nowhere to go and the chiller works harder than it should. That pushes up power use and can shorten equipment life, especially in hot summer months in Gauteng or humid conditions along the coast.
Give the machine enough breathing room on all service sides and above the unit where airflow is needed. If the plant room already runs warm, think about extractor fans, louvre panels or ducting to move hot air out. In Durban and Cape Town, where humidity can be high, good ventilation also helps prevent moisture build-up around panels and fittings.
When planning for load-shedding, place the chiller where backup power can be connected safely and where start-up access stays clear. A unit that is hard to reach during an outage is hard to recover quickly, and that can affect lasers, mould temperatures and process lines almost immediately.
Map Pipe Runs Before the Chiller Arrives
The shortest pipe run is not always the best one. Plan routes that reduce bends, avoid trip hazards and keep the pipework easy to inspect. Long pipe runs can increase pressure drop, so it is worth balancing neat routing with practical performance. Keep the route away from hot surfaces, moving parts and places where forklifts may clip the pipework.
For laser cooling and mould temperature control, stable flow matters as much as stable temperature. Insulated pipework helps reduce heat gain in summer and condensation in colder months. On coastal sites, corrosion protection is important too, because salt air can attack brackets, clamps and unprotected metal fittings faster than many owners expect.
- Keep supply and return lines as straight as possible.
- Use proper supports so pipes do not sag or vibrate.
- Plan isolation valves for easier maintenance later.
- Allow a service loop where the chiller may need to be moved out.
Drainage and Water Treatment Must Be Planned Together
Every chiller installation should have a clear plan for draining, refilling and any overflow control. If the unit is placed where water can pool, you risk corrosion, slippery floors and complaints from production staff. Check where water will go during maintenance, during a fault or when the system is flushed. Municipal rules may also affect where wastewater can be discharged, so do not assume a nearby drain is automatically suitable.
Water quality is just as important. Poor water treatment can lead to scale, blocked strainers, damaged pumps and inconsistent heat transfer. In some industrial sites around Pretoria and Rustenburg, hard water can create trouble faster than expected. A simple water treatment check during planning can save a lot of repairs later.
- Confirm floor drains are clear and positioned correctly.
- Check whether bunding or spill control is needed.
- Plan for treated water top-ups and flush points.
- Keep drain valves reachable without moving other machines.
Leave Room for Servicing and Breakdown Repairs
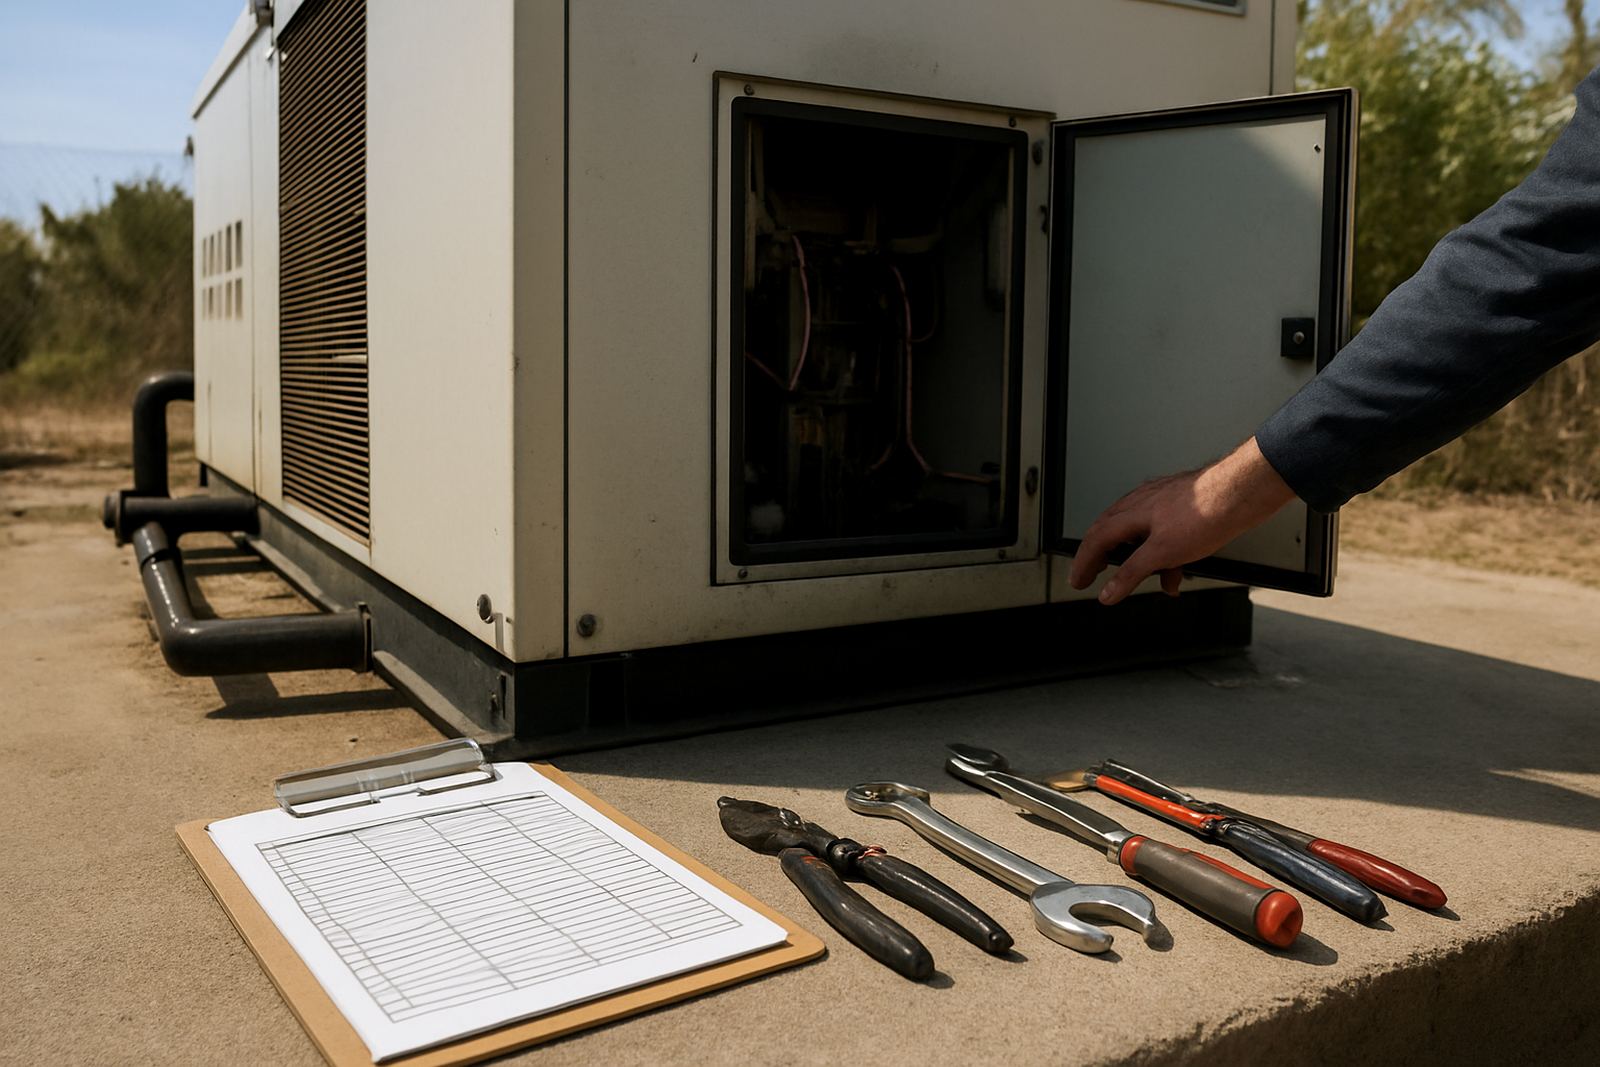
Many cooling problems become bigger because no one can reach the parts that need attention. Filters, pumps, controls, refrigeration components and electrical panels all need working space. If a technician has to remove other equipment first, a simple repair can turn into a long shutdown. That is costly on a line that feeds lasers, moulds or continuous process equipment.
When setting the final position, ask how a technician will change a pump, clean a strainer, test controls or inspect the refrigeration circuit. Leave enough room to open panels fully and to remove parts without forcing them through a tight gap. It is better to make space now than to discover later that a repair needs half the plant moved.
Our service teams across Johannesburg, Pretoria, Durban, Cape Town and Rustenburg often see the same issue: the chiller was installed where it fitted, not where it could be maintained. A little extra planning at the start usually means fewer callouts and faster turnaround when something does go wrong.
Use a Simple Pre-Installation Checklist
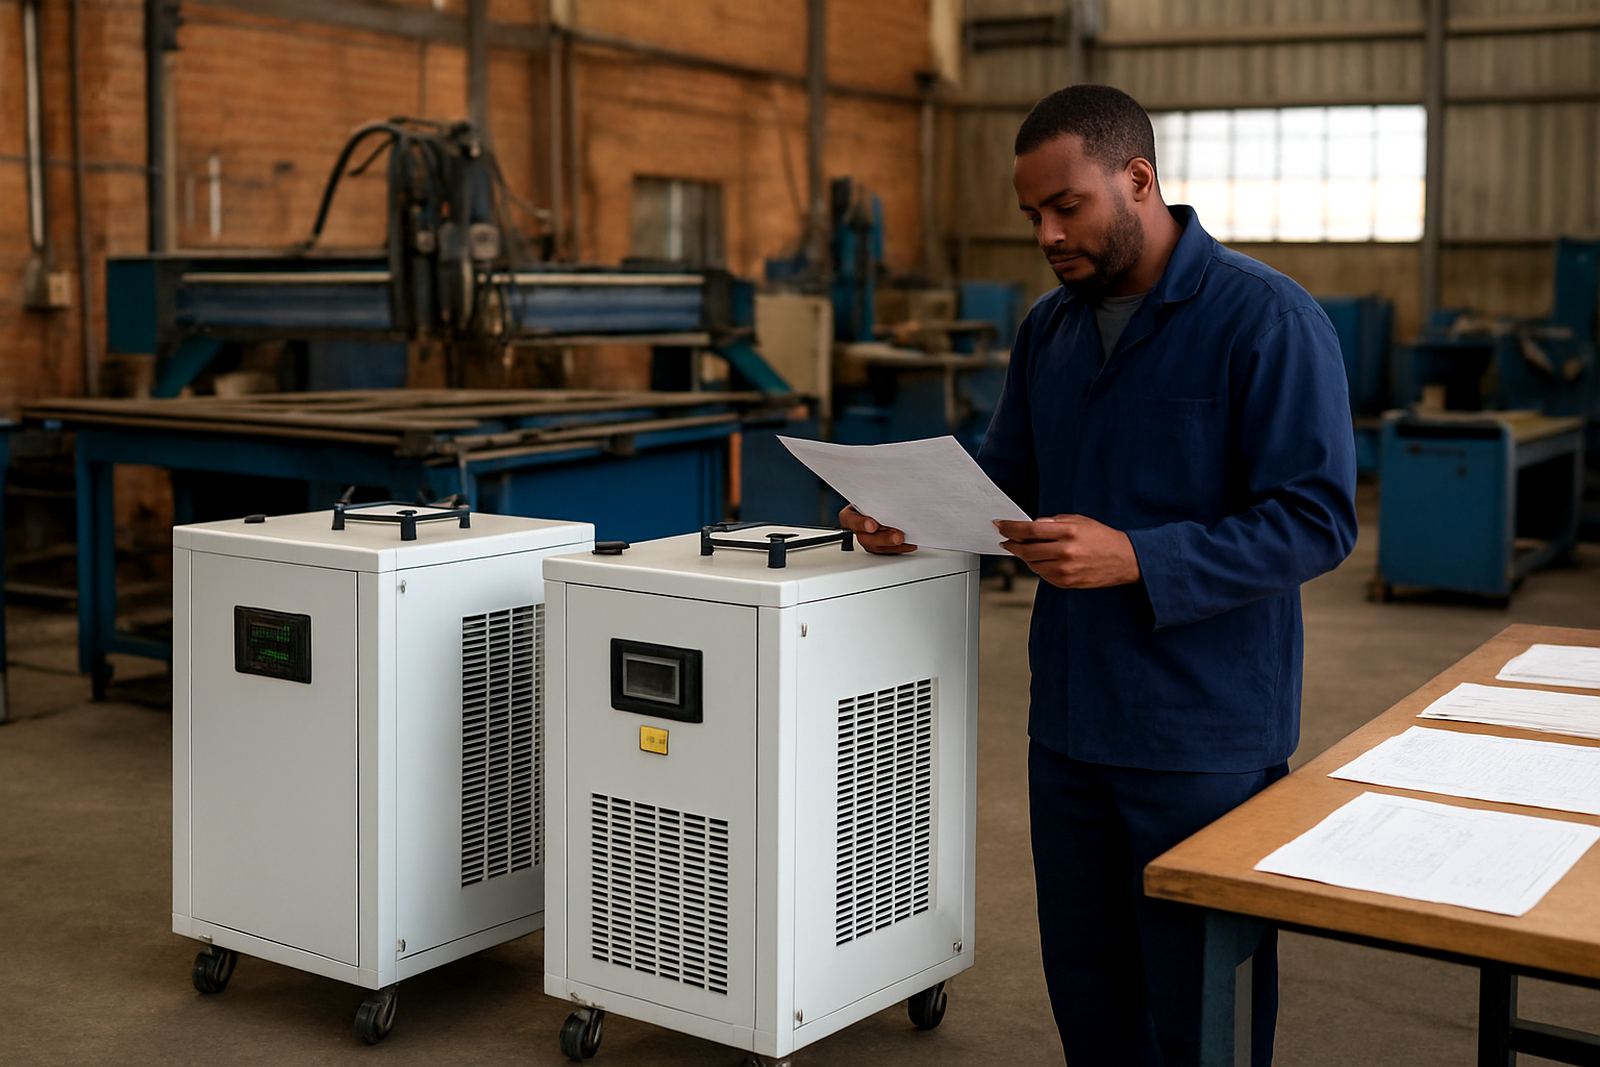
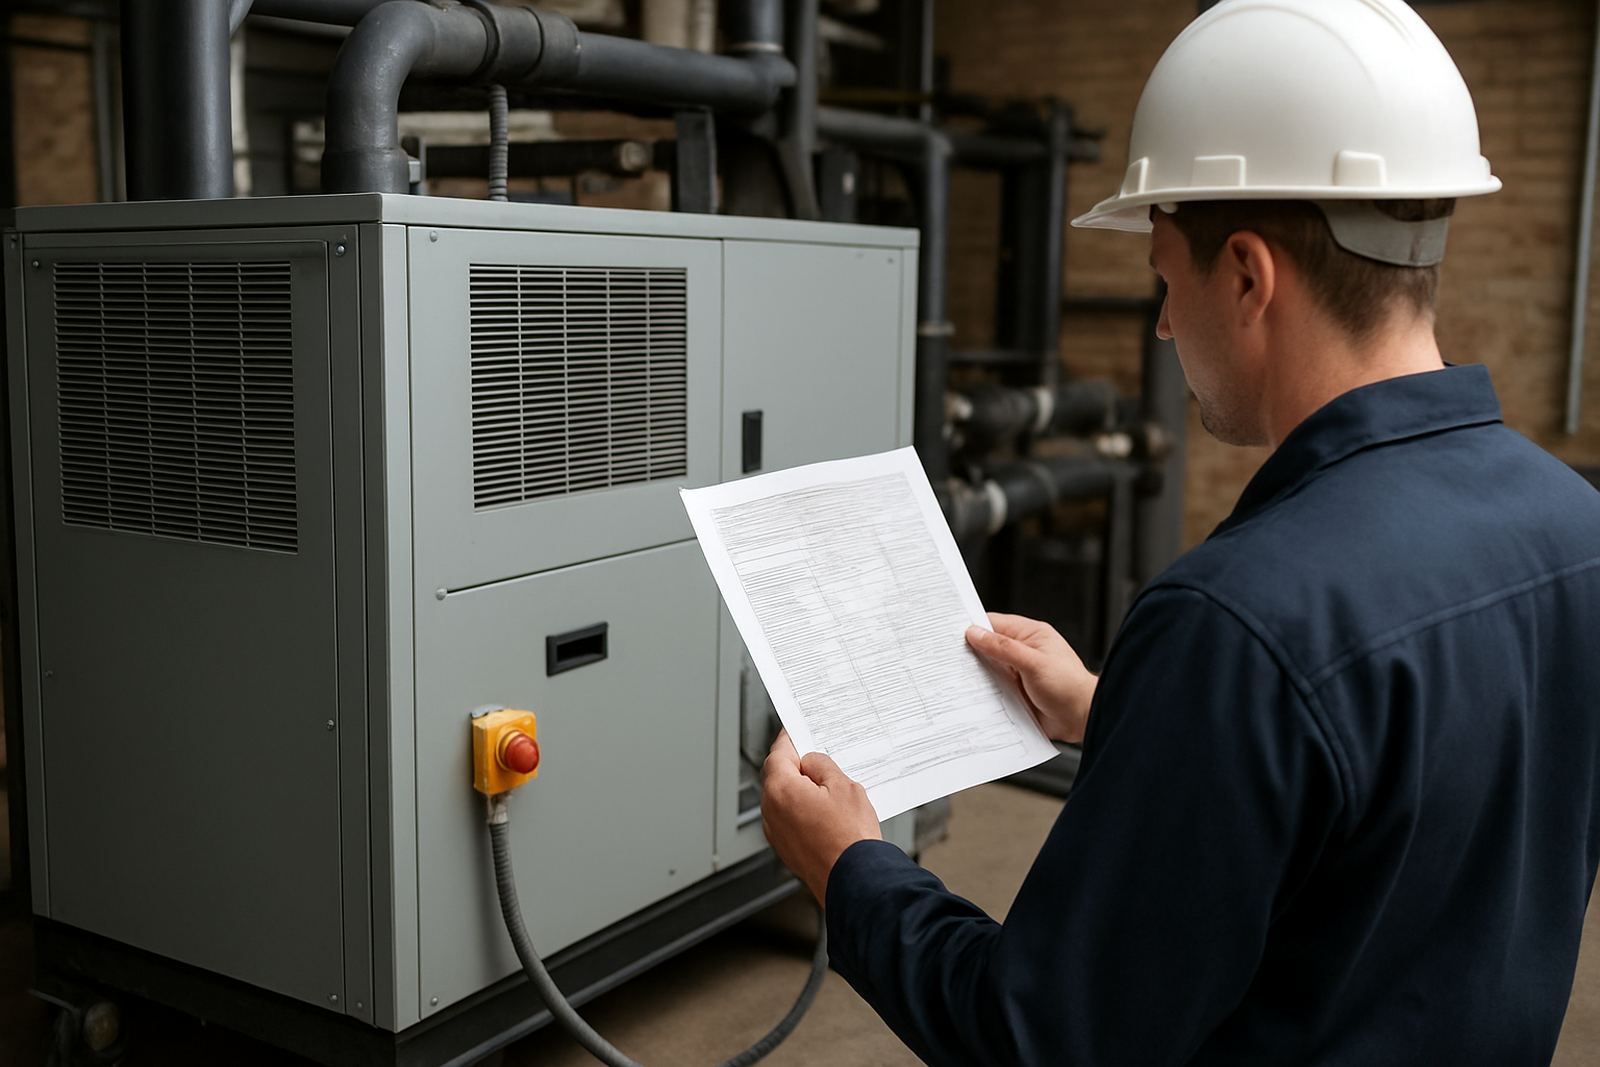
Before installation day, walk the area with operations, maintenance and production staff. This avoids surprise clashes with cable trays, piping, fire exits or other plant equipment. It also helps you spot practical issues like poor lighting, uneven floors or a doorway that is too low for the unit once it is on a skid. If the site is in a busy industrial area like Alberton or Germiston, make sure the delivery time works with security and yard traffic too.
A basic checklist keeps the job moving and helps everyone know what is ready and what still needs attention. It is also useful for temporary cooling setups during planned maintenance or shutdowns.
- Access route clear for delivery and lifting.
- Floor level checked and strong enough.
- Ventilation path confirmed.
- Drainage and water treatment planned.
- Power supply and backup supply confirmed.
- Pipe routes marked and insulated where needed.
- Service clearance left on all required sides.
If the area is tight, it may be worth considering a smaller footprint unit, temporary cooling or a pipework retrofit before the main install. That kind of planning keeps the line running and reduces the chance of rushed changes once the machine is on site.